BC3997 Project

The process of building a website for Magic Tailor's a small tailor shop that handles adjustments and ad hoc clothing requests.
Setting up AWS
Summary
First I had to pick an AWS structure that would work best with my website, which I didn’t realize how many supported hosting structures there were.
I followed the Amazon Amplify documentation after selecting which hosting option was best for my website.
Soon after, I realized that the backend is covered by AWS so I needed to find out how to integrate a Flask backend to AWS, something that seemed to be possible. To do this, I followed an online blog here with similar instructions, focusing on a Flask backend.
Background Research
Which AWS Web Hosting Solution?
https://aws.amazon.com/websites/?nc2=h_ql_sol_use_web
What is a REST API?
find info here
AWS Hosting
I had to create a AWS account, which was a bit unintuitive with creating a password. I was worry this would take a few days as creating a AWS account could take a while to get approved.
I followed the Amplify documentation, installing amplify in my main home directory in my computer by running
$ npm install -g @aws-amplify/cli
$ amplify configure
I followed configuration settings as given by the AWS guide since I didn’t want to mess around too much and mess up installation.
Since I had already created my React app in the first week, I could skip that part of the documentation.
cd magic_tailors
amplify init -y
Now the Amplify project is successfully created! The website is currently publicly deployed here.
Broke React-Flask App
While I’m glad the website is now being publically hosted for free – which is why I chose AWS – now manual Flask server isn’t running correctly due to AWS handling the backend service.
This sent me down a rabbit hole of errors and trying to manually create my own REST API through AWS. I referenced many, many resources and finally (after hours of webscraping and debugging) got up my own API.
Install A Custom REST API
In order to add my own backend API calls, I need to add my own Amplify API.
amplify add api
Then I followed the promts given, choosing a REST API and creating a path/name. I decided to go with a Python AWS Lambda function.
? Please select from one of the below mentioned services: REST
? Provide a friendly name for your resource to be used as a label for this category in the project: (default)
? Provide a path (e.g., /book/{isbn}): /hello
? Choose a Lambda source Create a new Lambda function
? Provide an AWS Lambda function name: (default)
? Choose the runtime that you want to use: Python
? Do you want to configure advanced settings? No
? Do you want to invoke this function on a recurring schedule? No
? Do you want to configure Lambda layers for this function? No
? Do you want to edit the local lambda function now? Yes
? Restrict API access? No
? Do you want to add another path? No
Creating an API will enable Amazon API Gateway which will handle the routing of HTTP requests to our Lambda function.
Finally, run amplify push to deploy your services to the cloud. The -y flag will just skip the confirm step.
$ amplify push -y
Note: you’ll need to re-run this push command whenever you want to deploy changes to your API.
Python Function
First, change into your function’s directory:
cd amplify/backend/function/<api_name>
You’ll need to have pipenv installed for Python packaging. Then, we’ll install the necessary packages.
- aws-wsgi will allow us to use Flask routing
- flask is our web framework
- flask-cors will handle CORS for our flask app
From this folder, go to the src/index.py file:
import awsgi
from flask_cors import CORS
from flask import Flask, jsonify, request

app = Flask(__name__)
CORS(app)

# Constant variable with path prefix
BASE_ROUTE = "/hello"


@app.route(BASE_ROUTE)
def hello_world():
    response_body = {
        "name": "Trinity",
        "hello": "Hello, World!"
    }

    return response_body


def handler(event, context):
    print('received event:')
    print(event)

    return awsgi.response(app, event, context)
Run amplify push -y to deploy your changes.
Connect front end
Install aws-amplify in the main root directory of the project by running:
$ npm i aws-amplify
Then add the following to the top of the App.js file:
import { Amplify } from 'aws-amplify'
import config from './aws-exports'

Amplify.configure(config)
To switch from a Flask call to a AWS API call, I need to include the following to fetch data from the custom AWS API by using API.get(), the API name, and the custom path name.
// custom API
const getData = async () => {
    console.log("fetching data")
    const data = await API.get('api51043e73', '/hello')
    console.log(data)
    setProfileData(({
        profile_name: data.name,
        hello_world: data.hello}))
}
Now your App function in the App.js file should look like the following:
function App() {
// new line start
const [profileData, setProfileData] = useState(null)
// custom API
const getData = async () => {
console.log("fetching data")
const data = await API.get('api51043e73', '/hello')
console.log(data)
setProfileData(({
profile_name: data.name,
hello_world: data.hello}))
}
return (
<div className="App">
<header className="App-header">
<img src={logo} className="App-logo" alt="logo" />
<p>
Edit <code>src/App.js</code> and save to reload.
</p>
<a
className="App-link"
href="https://reactjs.org"
target="_blank"
rel="noopener noreferrer"
>
Learn React
</a>
{/* new line start*/}
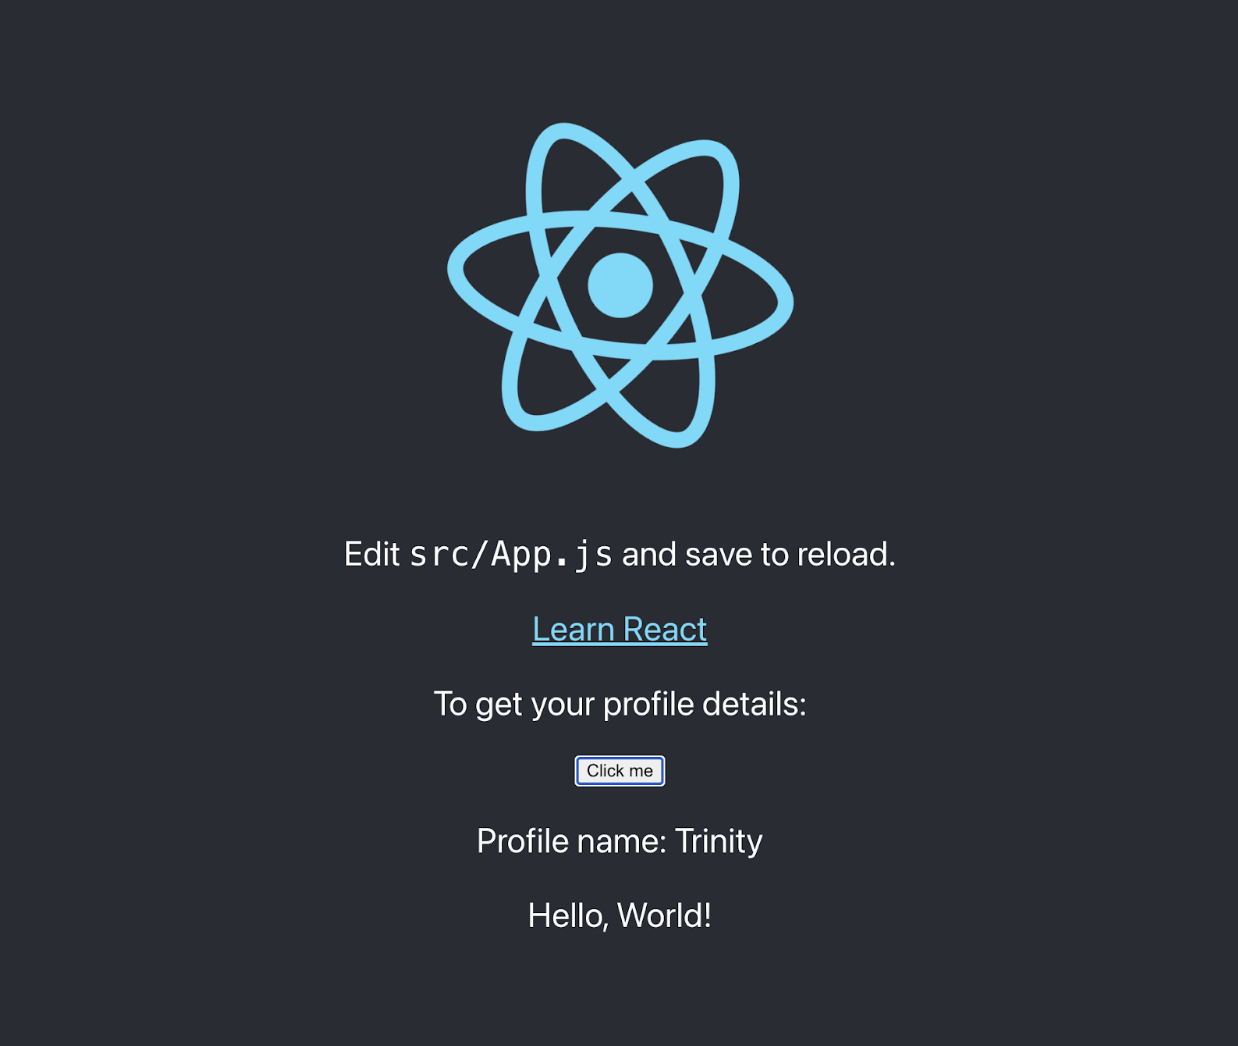
<p>To get your profile details: </p><button onClick={getData}>Click me</button>
{profileData && <div>
<p>Profile name: {profileData.profile_name}</p>
<p>{profileData.hello_world}</p>
</div>
}
{/* end of new line */}
</header>
</div>
);
}
export default App;
Final product should look identical to week 1: