BC3997 Project

The process of building a website for Magic Tailor's a small tailor shop that handles adjustments and ad hoc clothing requests.
Setting up the basics
Summary
- Followed most of this React & Flask tutorial to set up both the front and back end of the website.

-
Ran into an issue of flask not being imported properly? VS Code giving me a run for my money even though the installation was as simple as following the official Flask installation.
- I thought there were issues with Flask, but instead the IDE was giving non-fatal warnings that didn’t affect the local development server. Server ran on http://localhost:5000 without any problems.
-
Ran into a seemingly easy (but annoying) CORS error but it was as simple as switching the proxy URL from http://localhost:3000 to http://127.0.0.1:5000, but nonetheless it took hours.
-
Ultimately created my first React Flask app
Background Research
What is React?
What is Flask?
What is Node.js?
Flask v.s. Node.js with React
| Topic | Flask | Node.js |
|---|---|---|
| Language | Python | Chrome’s V8 JS Engine |
| Architecture | Non-blocking I/O requires non-blocking web servers | Inherently provides non-blocking I/O |
| Package Manager | pip | npm |
| Speed | Slower because of separate Python interpreter | Faster -> Just-In-Time compiler |
| Open Source | Yes | Yes |
| Community Support | 2.3 K Watches, 51.4 K Stars, 13.7 K Forks on GitHub | 2.9 K Watches, 71.9 K Stars, 17.6 K Forks |
| Debugging | Easier to Debug with Python debugger (no dependencies) | Requires effort to debug but easier with IDE |
| Maintenance | Low | Higer (relatively) |
| Real-time applications | Inherently not suitable. Use socket.io for real-time use cases. | Inherently asynchronous |
| Libraries | Mature and stable | Less mature and stable |
| Code Quality | It is exclusively created for the back end. | Sometimes compromised (frontend) |
| Integration | Integration with existing system and applications | Fairly new and requires the creation of custom or new libraries for integration. |
Method
Project directory
Create the main project directory where the website will be stored
$ mkdir magic_tailors
$ cd magic_tailors
React frontend setup
Create the frontend react application by running:
$ npm create-react-app .
and then start the frontend application by running:
$ npm start
The default react application page should pop up in the browser; if not, paste the following link below in your browser: http://localhost:3000
At this point, you should see the following:
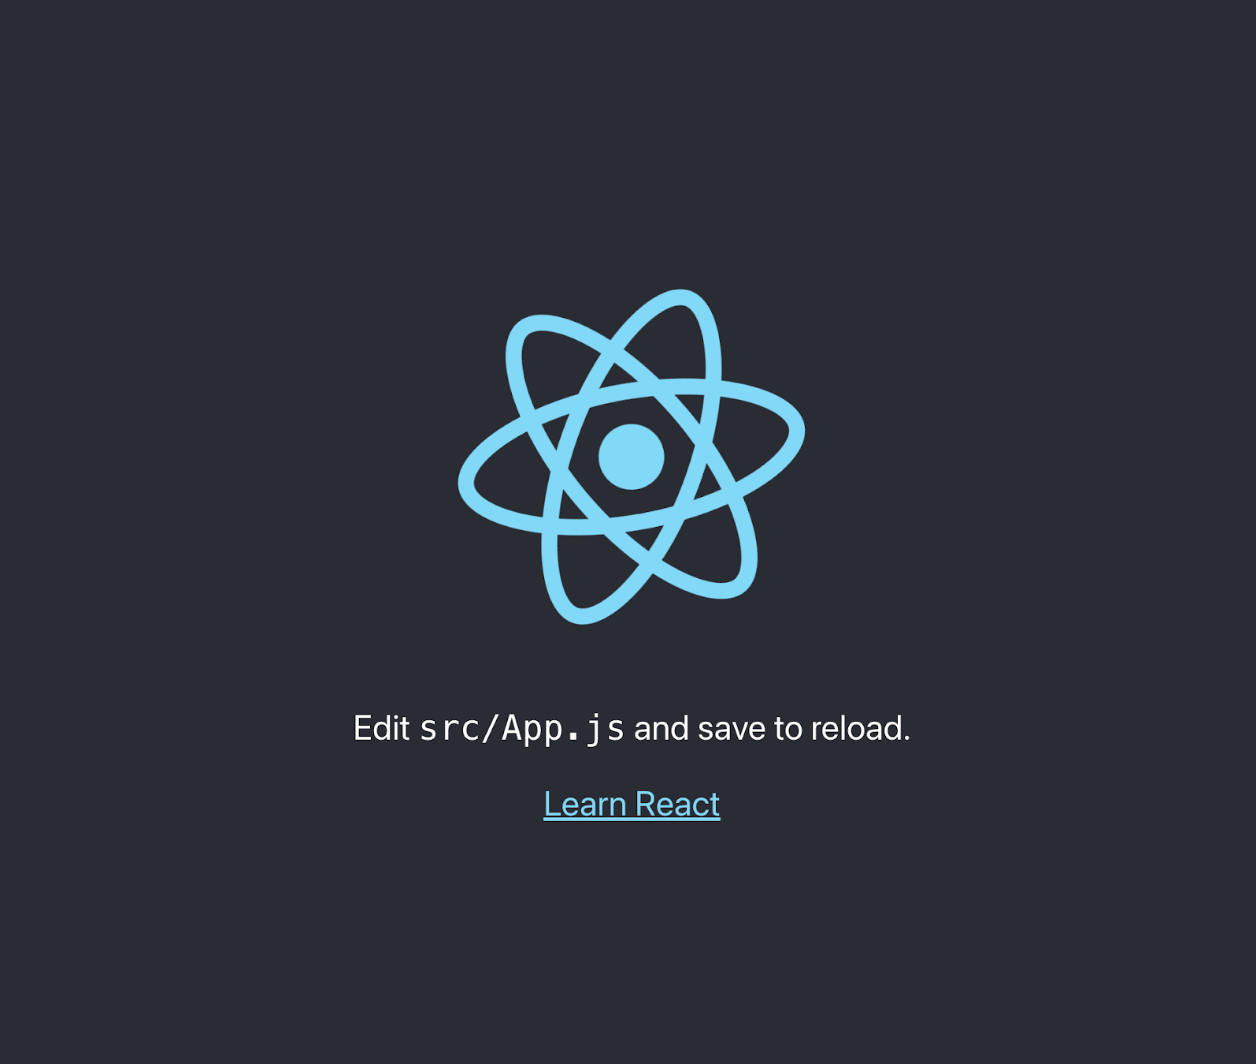
Now we’ll move onto setting up the backend portion of the React Flask app.
Flask backend setup
Create and navigate into a new directory in the magic_tailors directory:
$ mkdir backend
$ cd backend
Virtual Environment
From here on out, it’s important to follow Flask’s installation process. As noted there, virtual environments manage the dependencies for projects in both development and production. Virtual environments keep Python libraries independent from one another from project to project locally in an operating system.
Create an environment
Create a project folder and a venv folder within:
$ python3 -m venv venv
Activate the environment
Before working on the project, we need to activate it by running:
$ . venv/bin/activate
The shell prompt will change to show the name of the activated environment.
Install Flask
Within the activated environment, install Flask:
$ pip install Flask
Now Flask should be installed!
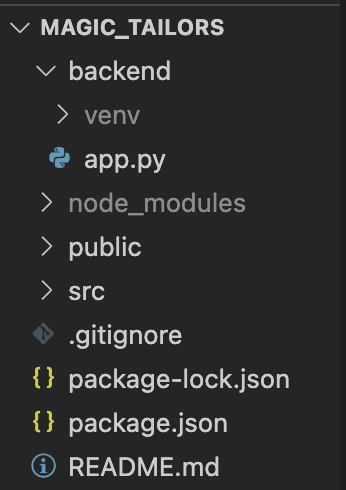
Staying in the backend directory, now create an app.py file.
$ touch app.py
Your folder structure will now look like 👇🏼
In the app.py script, create a simple API that returns your name and “Hello, World!”:
from flask import Flask

api = Flask(__name__)

@api.route('/hello')
def hello_world():
    response_body = {
        "name": "Trinity",
        "hello" :"Hello, World!"
    }

    return response_body
The code above contains a simple API which would be called by the react front end to get the response_body dictionary.
You might have noticed two things:
- the GET http method is not specified here. Fortunately, view functions in Flask accept GET requests by default.
response_bodydictionary being returned at the end of the function is not injsonify(response_body)format. Flask can return a dictionary, which Flask then turns to JSON format automatically.
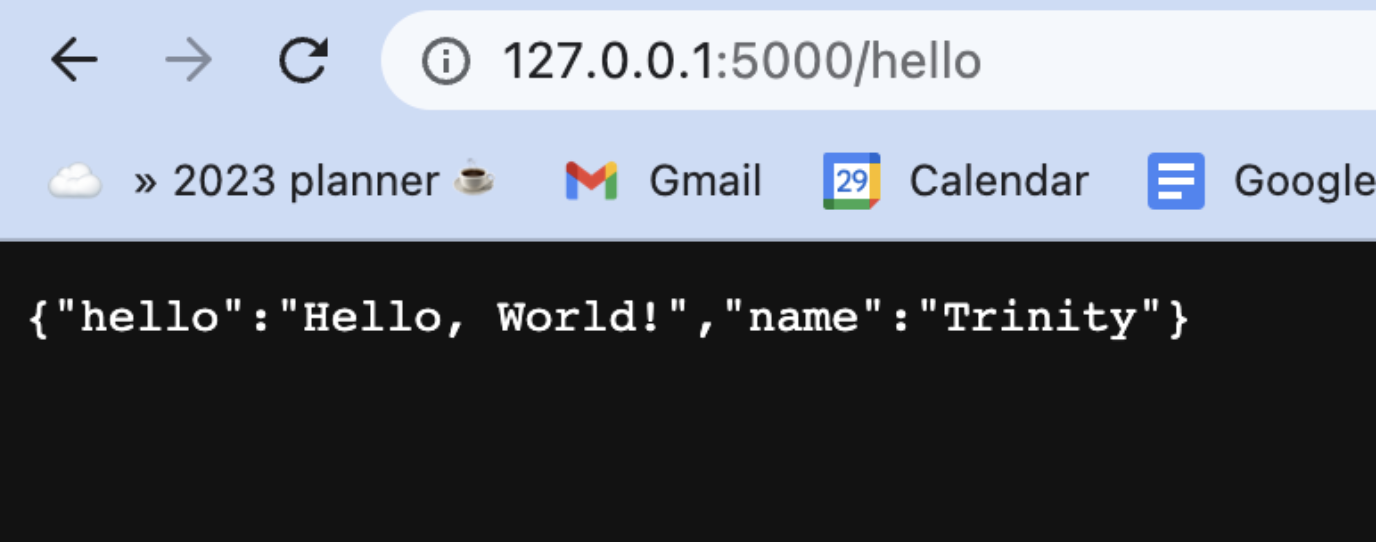
The backend has been successfully set up, you can test this by running your application.
flask run
Then navigate to the url http://127.0.0.1:5000/hello. You should see the dictionary response_body rendered in JSON format.
Add the following to your .gitignore file especially if you plan on pushing your code to Github.
/backend/venv
/backend/__pycache__
Connecting Flask endpoint to React front end
Return to the main magic_tailors directory where the frontend is located:
cd ..
Install axios library
npm install axios
package.json
Open the package.json file and add a proxy below the “private”: true, line. This enables the Flask server on your local machine to be accessed by any API requests made by the front end as well as enabling relative paths when making those calls. For example, instead of using http://localhost:5000/hello you can simply make use of /hello.
\\ At the start of the file

"name": "magic_tailors",
 "version": "0.1.0",
 "private": true,
 "proxy": "http://127.0.0.1:5000",
Keep the package.json file open for a moment because you can add a neat feature. Similar to how React server automatically restarts upon file changes, you can also add this functionality to your Flask backend application. Connecting React to Flask offers this additional benefit.
Add another key and value under the scripts section “start-backend”: “cd backend && env/bin/flask run –no-debugger”.
"scripts": {
    "start": "react-scripts start",
    "start-backend": "cd backend && venv/bin/flask run --no-debugger",
    "build": "react-scripts build",
    "test": "react-scripts test",
    "eject": "react-scripts eject"
  },
You can now initiate your backend server by running “npm run start-backend,” which triggers the command specified in the package.json file. This command enters the “venv” directory in your backend folder and executes the “flask run” command.
The command includes the “–no-debugger” option to turn off the browser-based debugger. This is because the Flask backend only acts as a server to host the API endpoint.
App.js
Time to connect the API endpoint together with the frontend. Create a file App.js that contains the following:
import { useState } from 'react'
import logo from './logo.svg'
import './App.css'


function App() {

   const [profileData, setProfileData] = useState(null)

  function getData() {
    console.log("fetching python localhost");
    axios.get('/hello')
      .then((response) => {
        const res = response.data
        console.log(res)
      setProfileData(({
        profile_name: res.name,
        hello_world: res.hello}))
    }).catch((error) => {
      if (error.response) {
        console.log(error.response)
        console.log(error.response.status)
        console.log(error.response.headers)
        }
    })}

  return (
    <div className="App">
      <header className="App-header">
        <img src={logo} className="App-logo" alt="logo" />
        <p>
          Edit <code>src/App.js</code> and save to reload.
        </p>
        <a
          className="App-link"
          href="https://reactjs.org"
          target="_blank"
          rel="noopener noreferrer"
        >
          Learn React
        </a>

        <p>To get your profile details: </p><button onClick={getData}>Click me</button>
        {profileData && <div>
              <p>Profile name: {profileData.profile_name}</p>
              <p>{profileData.hello_world}</p>
            </div>
        }
      </header>
    </div>
  );
}

export default App;
Now, everything should be connected! Go ahead and test:
- Start your backend server using
npm run start-backendin your terminal. This command can be run while you are in any directory; be it the base directory(flask_react) or the flask directory (backend) - Start your react server using
npm startin the base directory
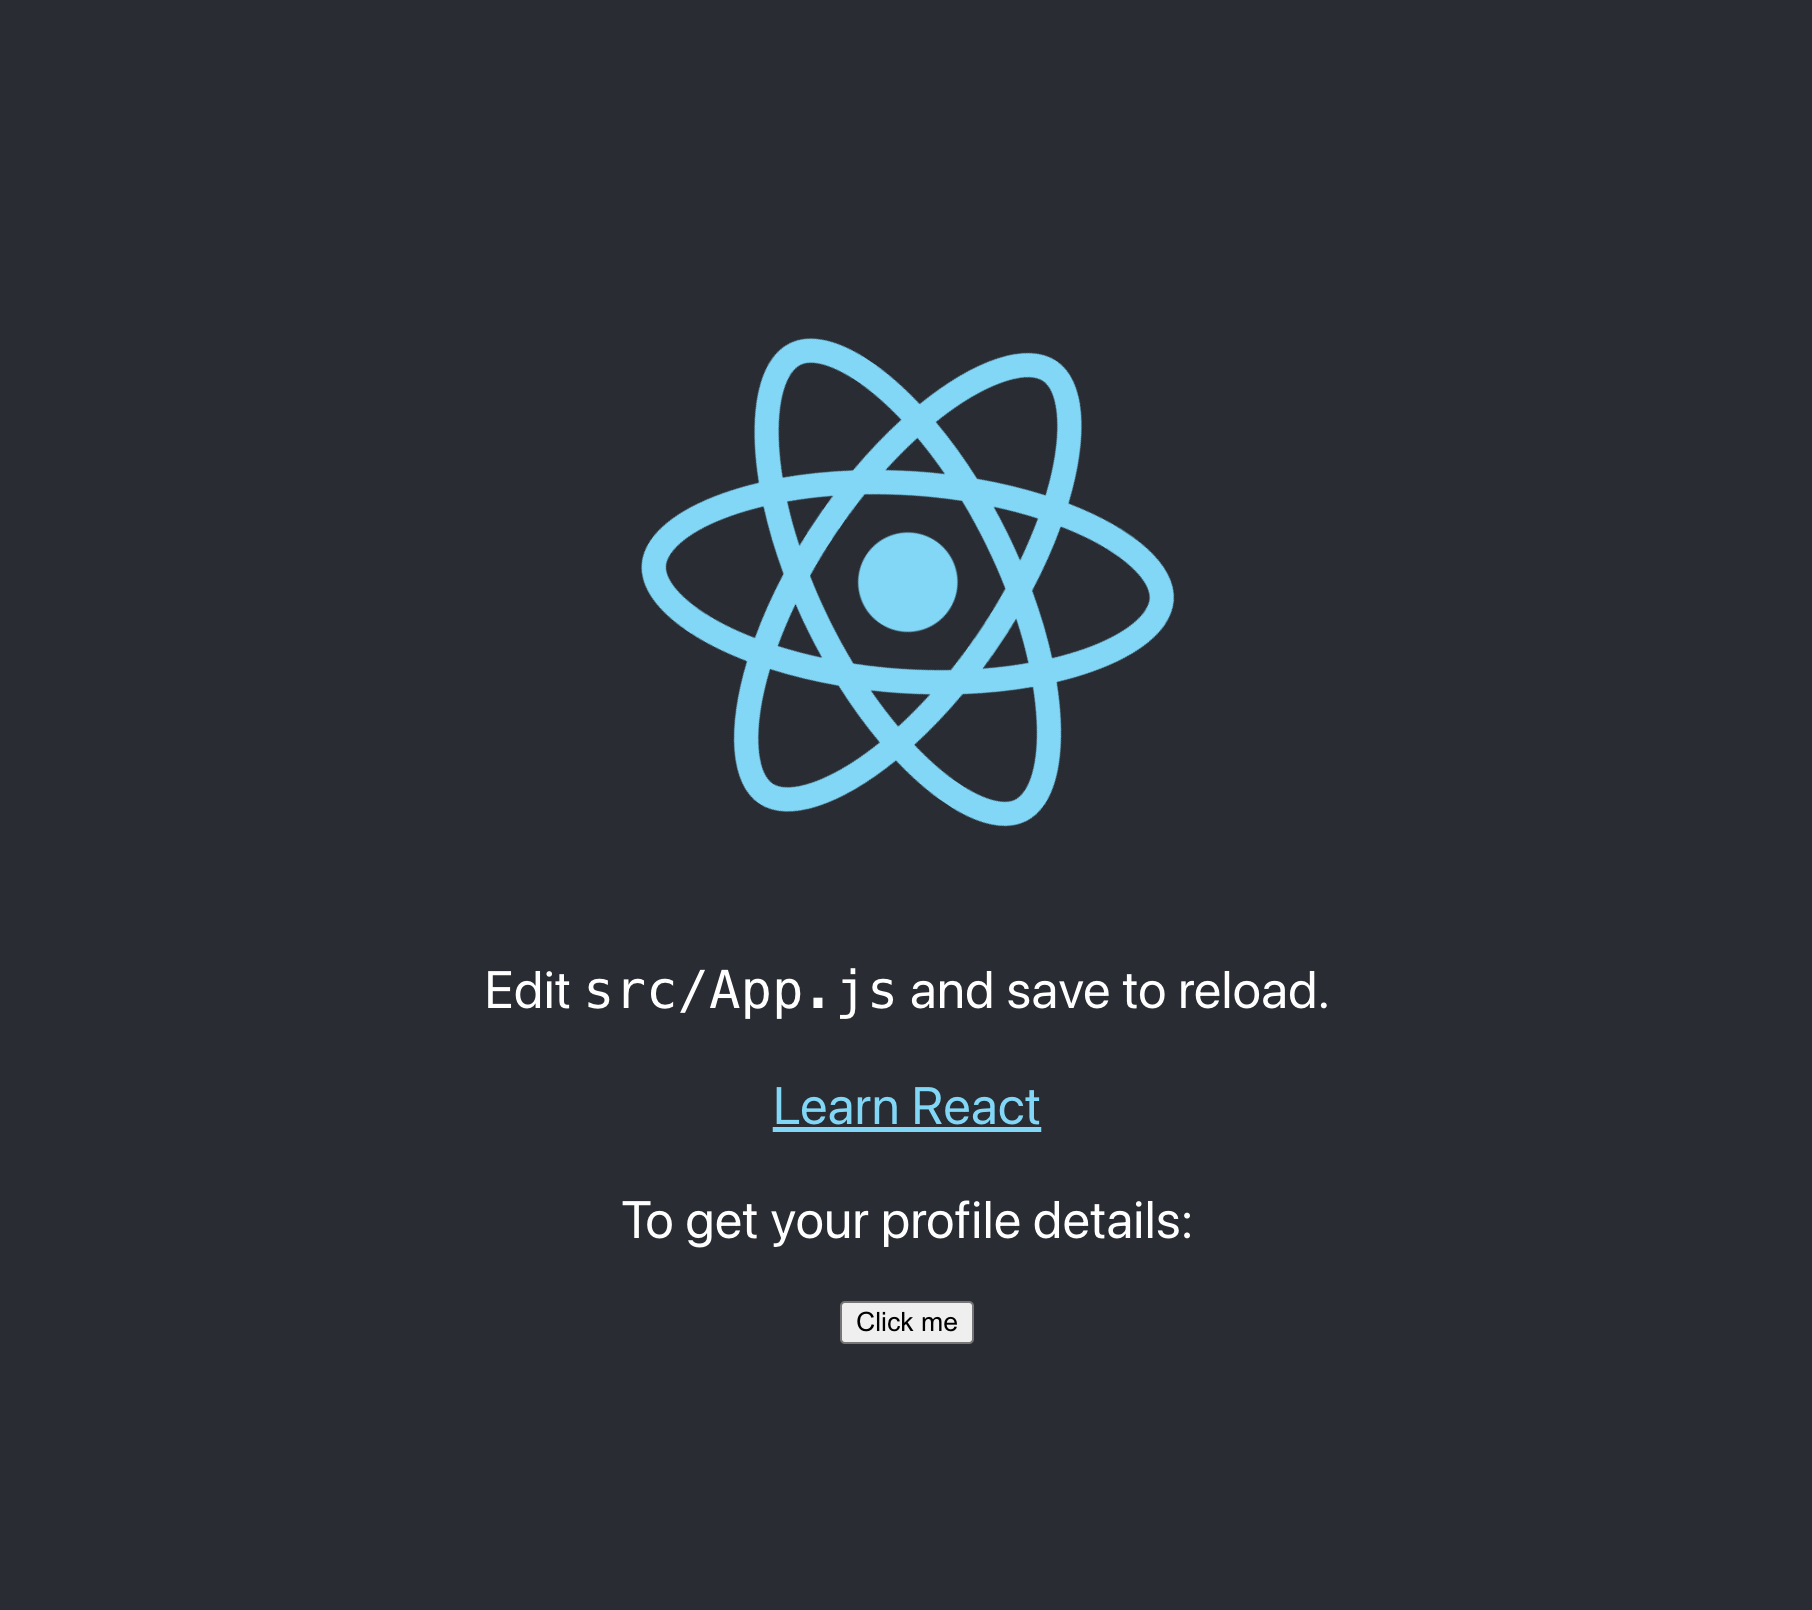
When you navigate to http://127.0.0.1:3000 to view the React app you’ll see the following:
After you click the button, then you should see this:
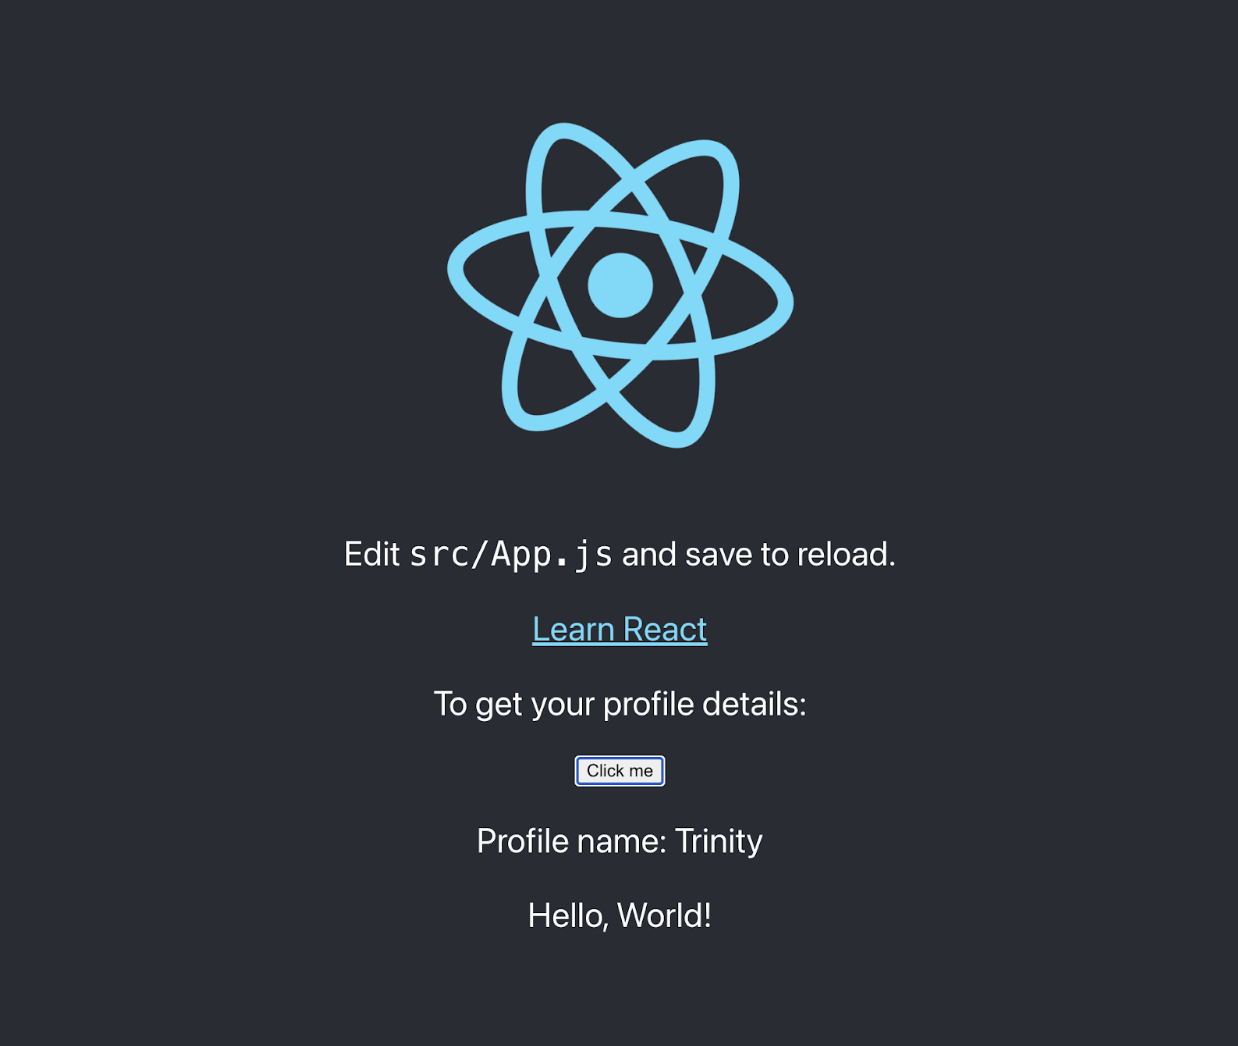
Now the Magic Tailor’s backbones is up and running!